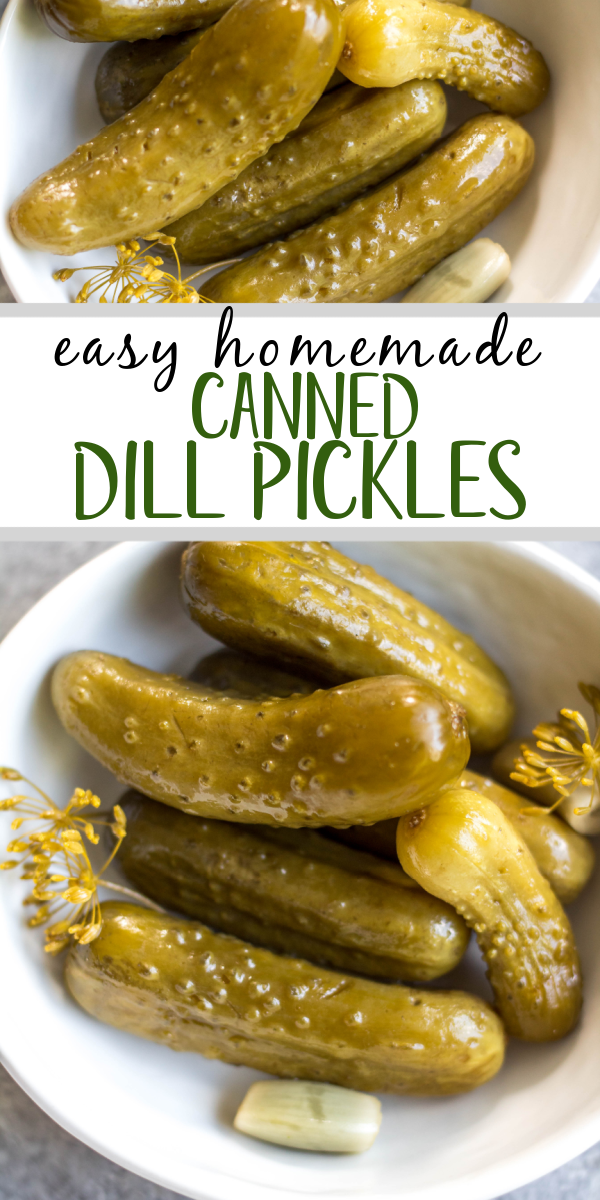
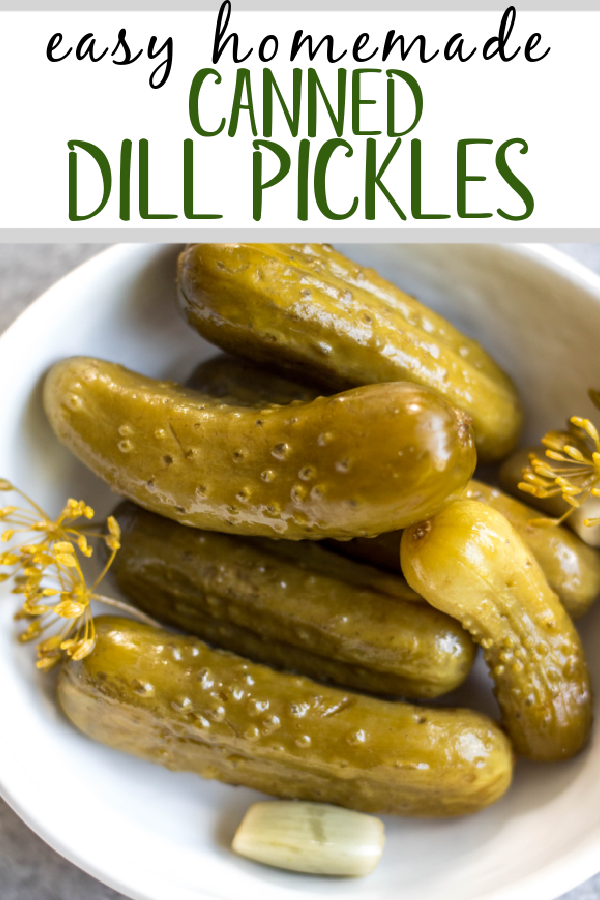
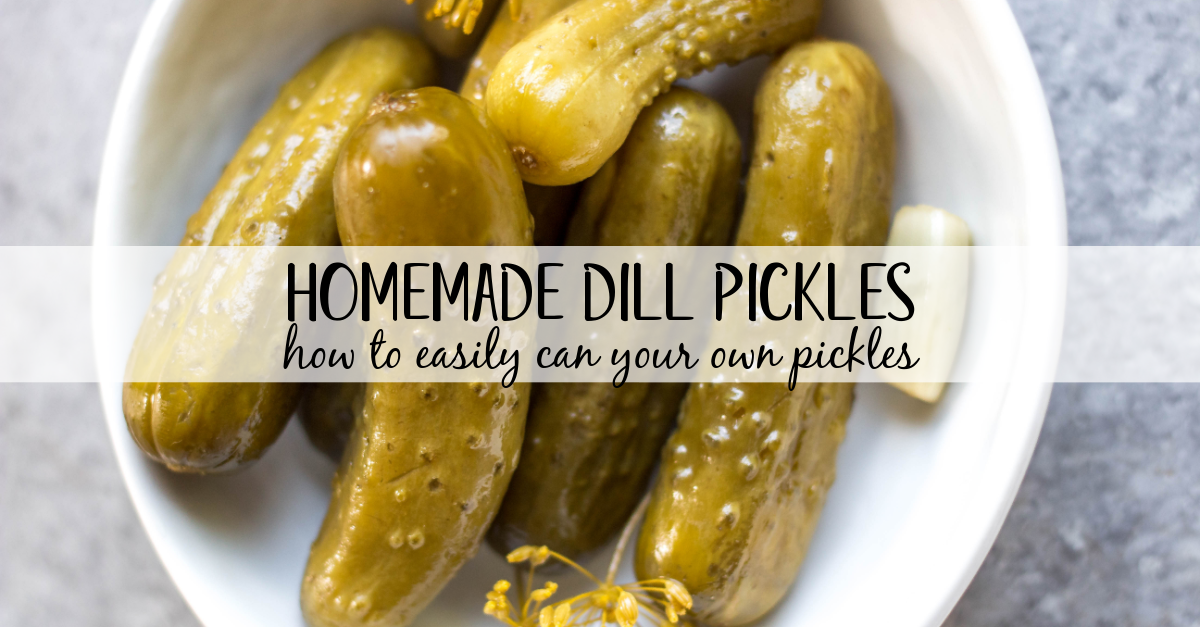
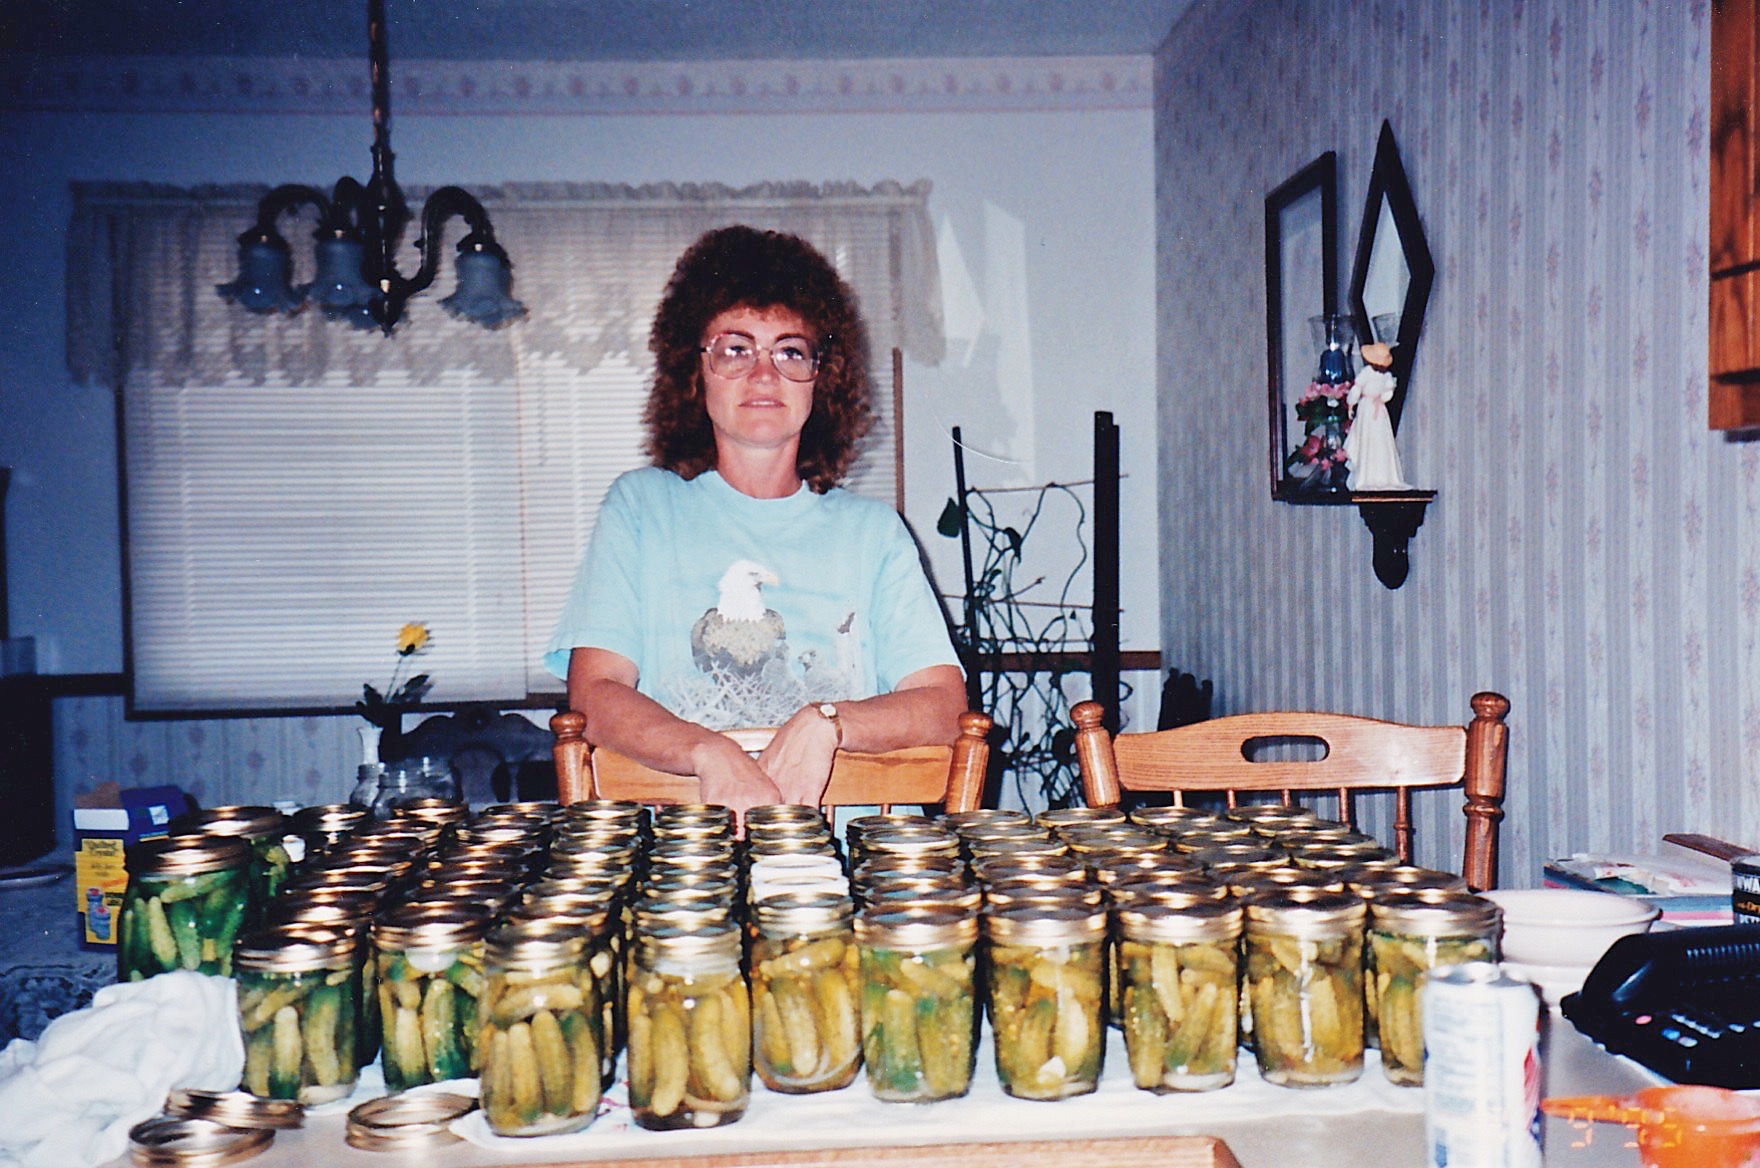
This recipe for canned pickles has been in my family for about 100 years. It’s easy, even for a canning beginner, only requires 7 ingredients, including garlic, dill and onions to give them their classic flavor. The mini cucumbers can be crinkle cut into slices, cut into spears, or left whole. This homemade dill pickle recipe yields 40 jars, so you can enjoy them all year, share with family and give as gifts!
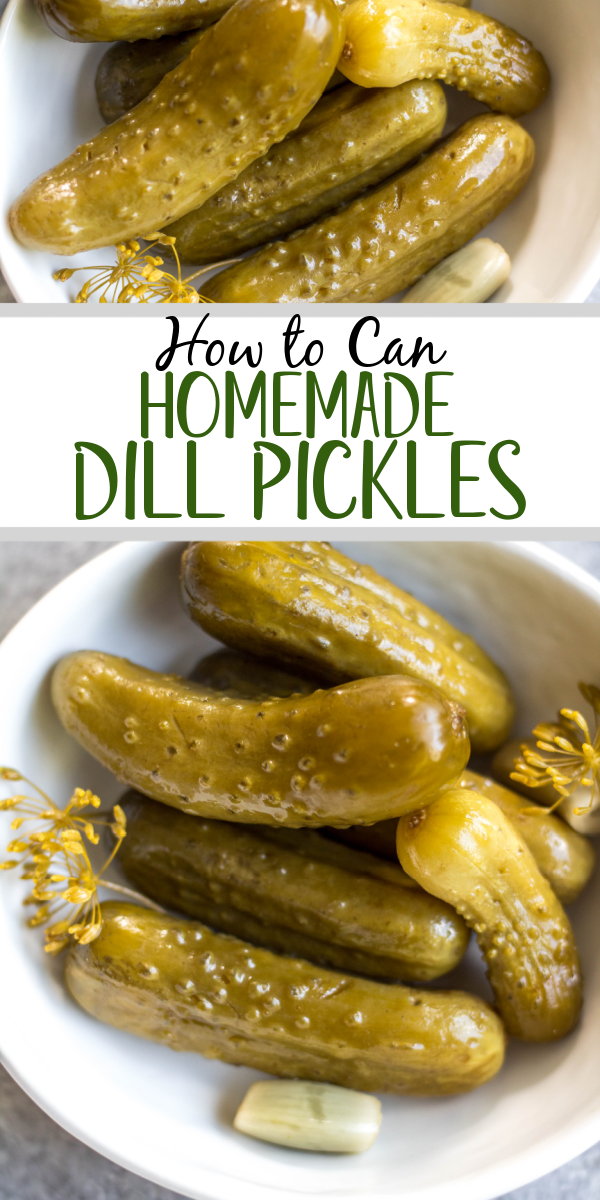
Homemade Dill Pickle Ingredients
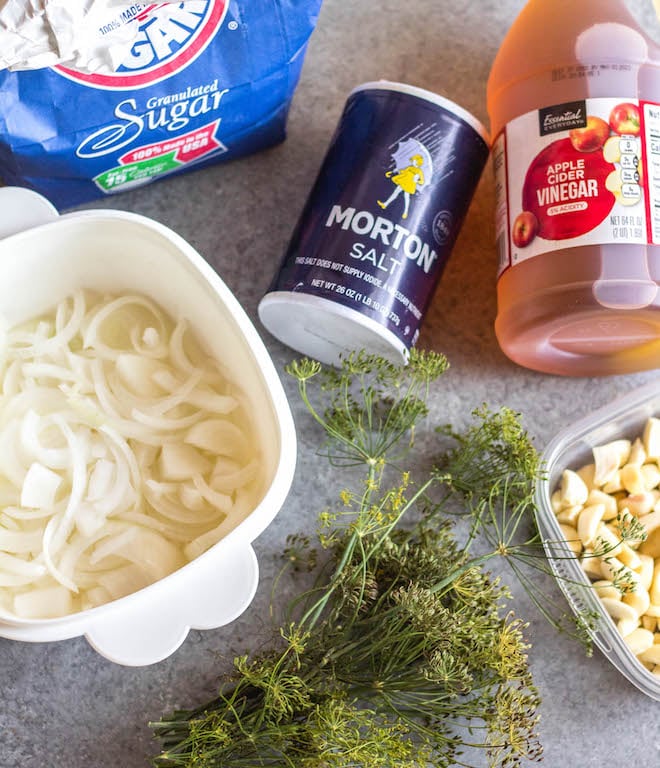
The recipe for the pickle brine is fairly simple. You’ll need four ingredients: apple cider vinegar, Morton’s salt, white sugar and water. For the salt, make sure to use the type (Morton’s) called for, as different types and textures of salt can result in a different flavor.
Each glass jar will be filled with four additional ingredients: garlic, dill weed, white onion and pickling cucumbers.
Where to Find Pickling Cucumbers
You won’t be able to buy a half bushel of pickling cucumbers (baby cucumbers) at your normal grocery store most likely. However, there are many farms that sell them at their bulk weight of quarter, half, 3/4ths and full bushels. There’s likely quite a few in your area you can find via google search. We use a local farm that also supplies the dill that’s needed. We just call ahead to place our order and they have it ready for us for easy pick up.
You can also typically purchase your pickling cucumbers at farmer’s markets, which can be an easier way to connect with a farm that’s local to you. When you pick up your cucumbers, be sure to have a container that’s large enough to both haul them and hold them until you’re ready to can. A standard sized cooler works best.
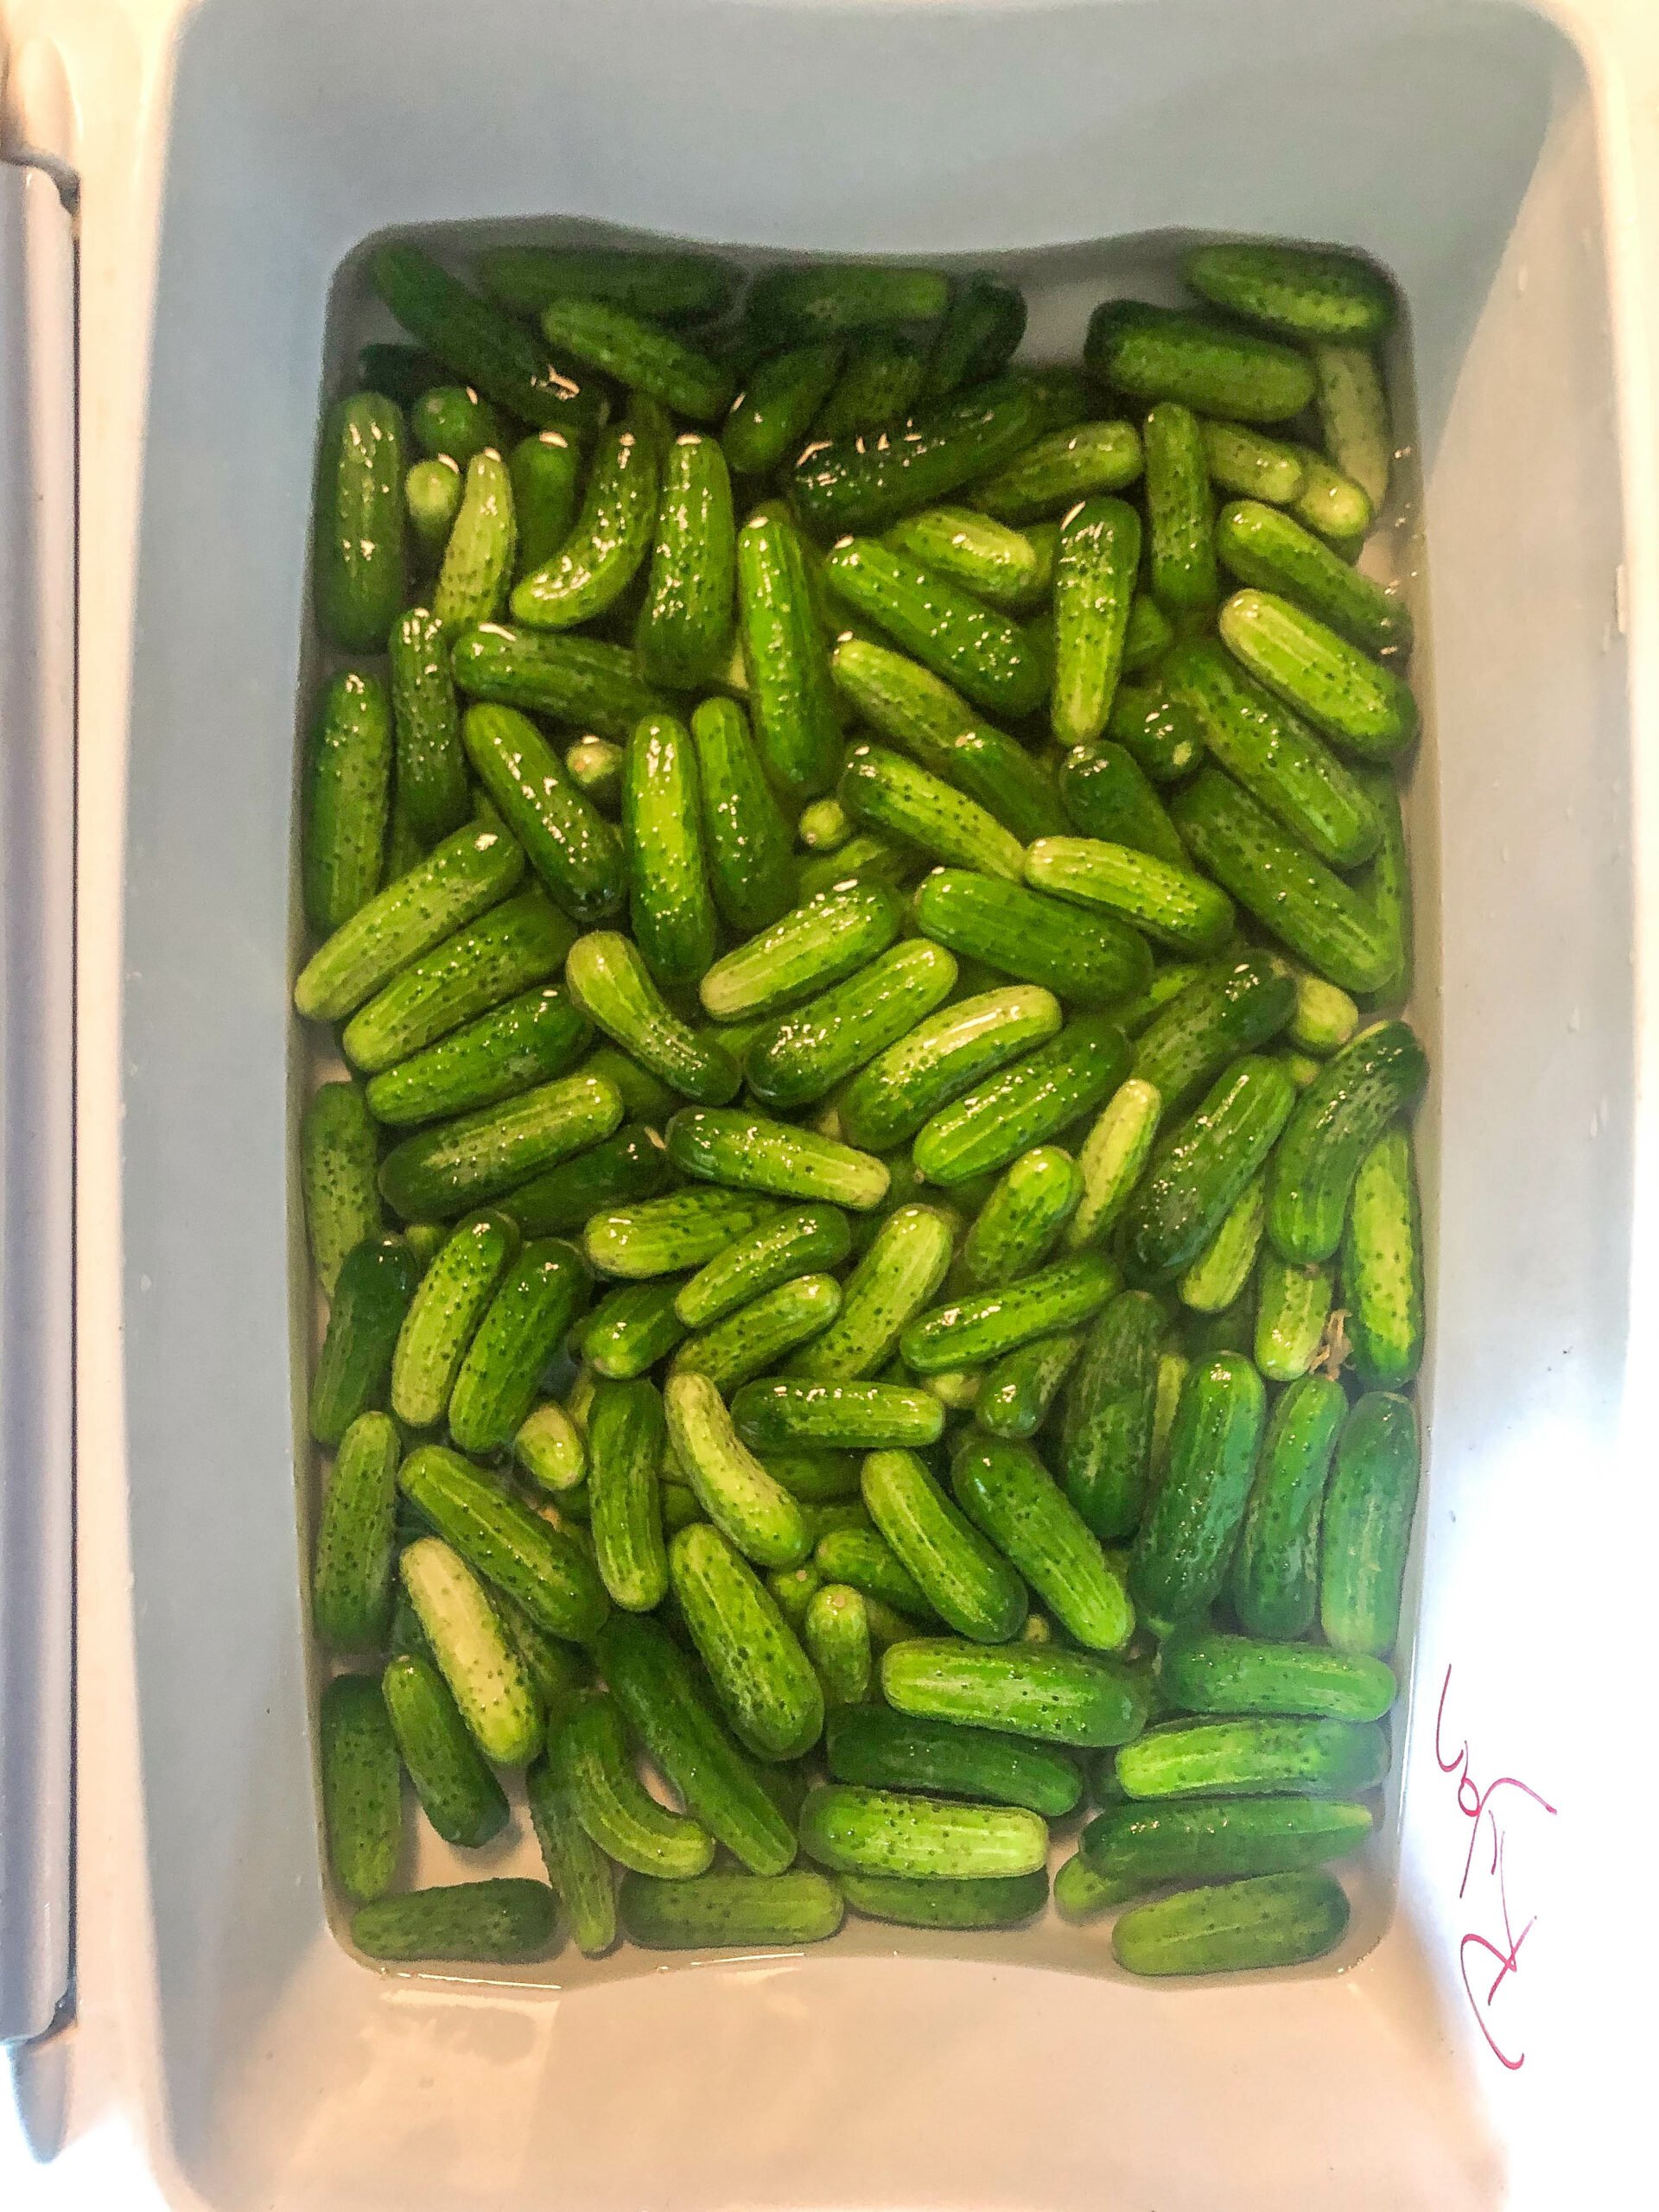
A half bushel weighs approximately 10 pounds and will cost on average between $30-$40, depending on what area of the country you’re in and the farm.
Supplies Needed For Canning
My grandma thinks that the wide mouth jars don’t make good tasting pickles, so she refuses to use them, however I do think that any type of mason jar would work just fine. We use the normal pint jars from Ball Canning.
Canning Process
1. Cleaning Cucumbers and Prepping Ingredients
Once you get them home, you’ll scrub your baby cucumbers to clean and put the clean ones into the filled the cooler with ice water to keep them fresh. You’ll need to prep the onion, garlic and dill so it’s ready to go when you’re boiling the brine. Prep the onions by peeling and then slicing. Each jar will be layered on the bottom and the top with a few pieces from the sliced onion.
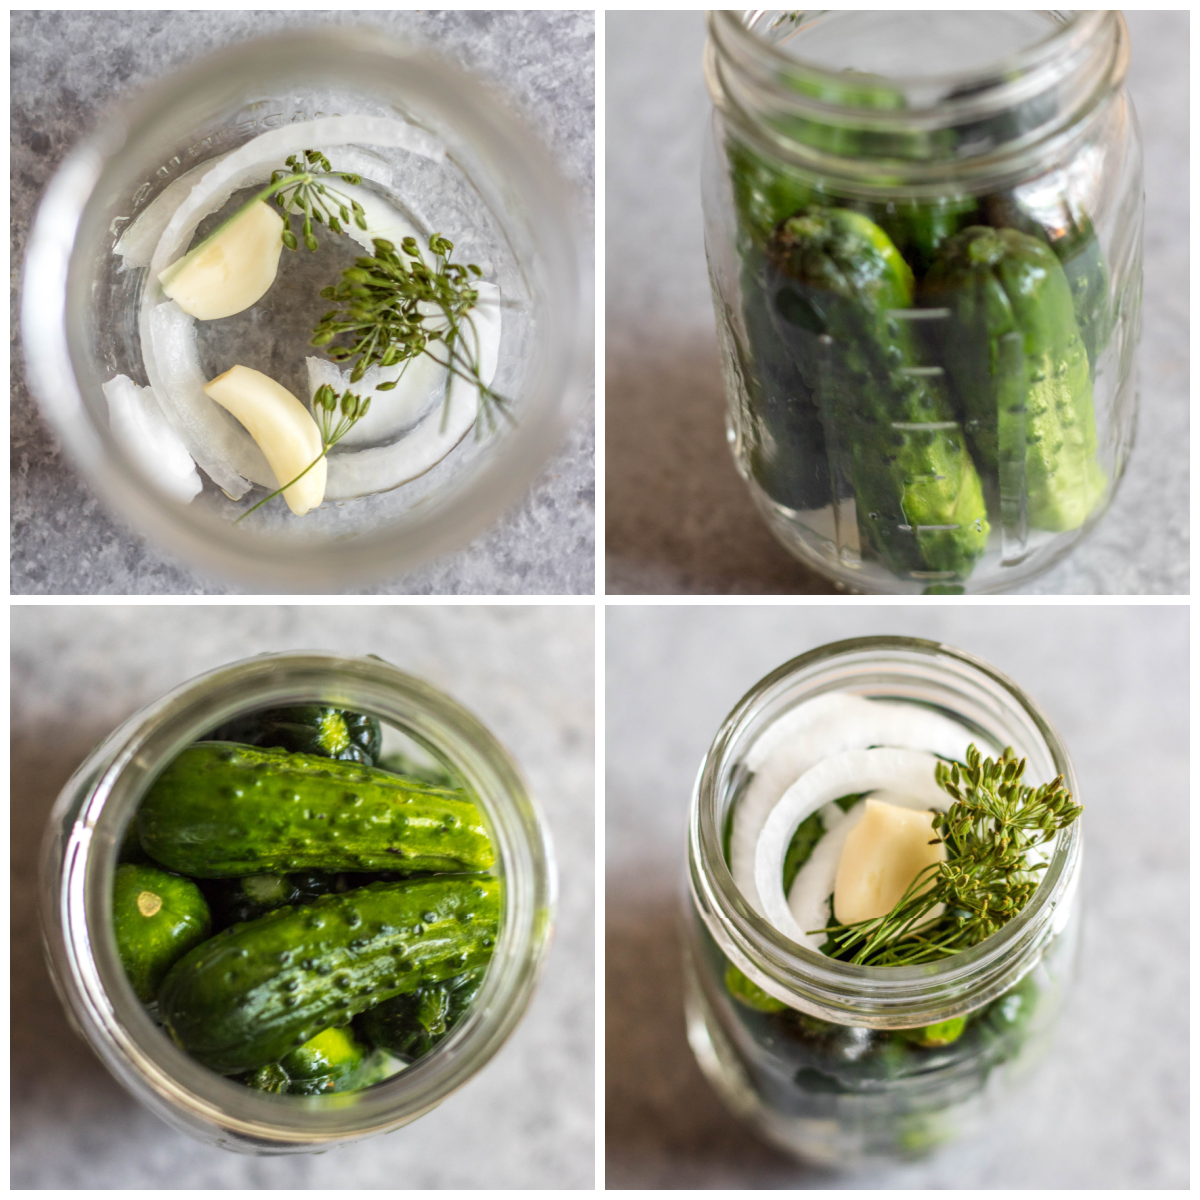
You’ll need to peel the garlic and chop each clove in half. Like the onion, the garlic will go on the bottom and the top of the pickles in each jar. For the dill, trim the stems down so there’s about 1/2 inch of stem under the flowering part. Each jar will get about 4 stems of dill put into the bottom and on the top.
2. Sterilizing Jars Before Canning
There are three ways to sterilize your jars before canning (if you don’t have a canner, which many people do not).
1. The dishwasher: many dishwashers have a sterilizing cycle function. This is by far the easiest way, and makes for good storage of all of your jars so you can remove them a few at a time to fill them with the pickles and brine without cluttering up your kitchen too much.
2. The oven: first wash each jar either by hand or in the dishwasher and allow them to dry. Then arrange the canning jars in the oven on clean racks. Set the oven to 225 degrees F. and then “cook” them for 25 minutes before using.
3. Boiling water: this method for sterilizing jars takes by far the longest. It’s likely you don’t have an extremely large stock pot to do this with, so it takes many, many repetitions to get all 40 jars sterilized. You’ll need to bring water in the largest pot you have to a boil, place as many jars as you can fit so they’re fully submerged (likely 4 at a time, depending on the stock pot you’re using). Then let them boil for 10 minutes and use food tongs to carefully remove and set upright onto a counter. Repeat as needed until all of the jars have been sterilized.
Whichever way you sterilize your jars, you want to do this relatively close to the time you fill them to avoid the glass breaking, which can happen sometimes when a glass container is cold and you pour boiling liquid into it. If you want to sterilize the day or night prior to doing the actual canning, before you start canning, simply fill your sink with hot water, place jars into it and let them sit for at least 10 minute before you start filling the jars with cucumbers. When you’re filling the jars, just take each one from the hot water bath. Once the sink is empty and you’ve filled those jars, just place the next batch into the sink to warm.
3. Filling the Jars
There are two steps to filling the jars. The first is filling them with the vegetables and dill. To do this, start by putting half a clove of garlic, a few slivers from a sliced onion, and about 4 stems of dill weed into the bottom of each jar. Then, stuff the jars full of pickles vertically until you can’t fit anymore into the jar, then put two smaller ones horizontally on top to fill the jar up. Finish by putting another half clove of garlic, a few slivers from a sliced onion and about 4 more stems of dill weed into the top of each jar.
3. Boiling Vinegar Mixture and Heating Lids
The second step to filling the jars is filling with the brine. To start this process, you’ll want to bring 1 quart vinegar, 1 quart water, 1/2 cup salt and 3/4 cup white sugar to a boil. This brine should boil for at least 10 minutes before it’s poured into your jars, and this step of bringing the brine to a boil can be done as you’re filling the jars. On another burner over low heat, add about 1 cup of water and 8-10 lids to heat. While people may debate if this step is necessary, we’ve found that if you don’t heat the sealing lids, you have more that need to be resealed.
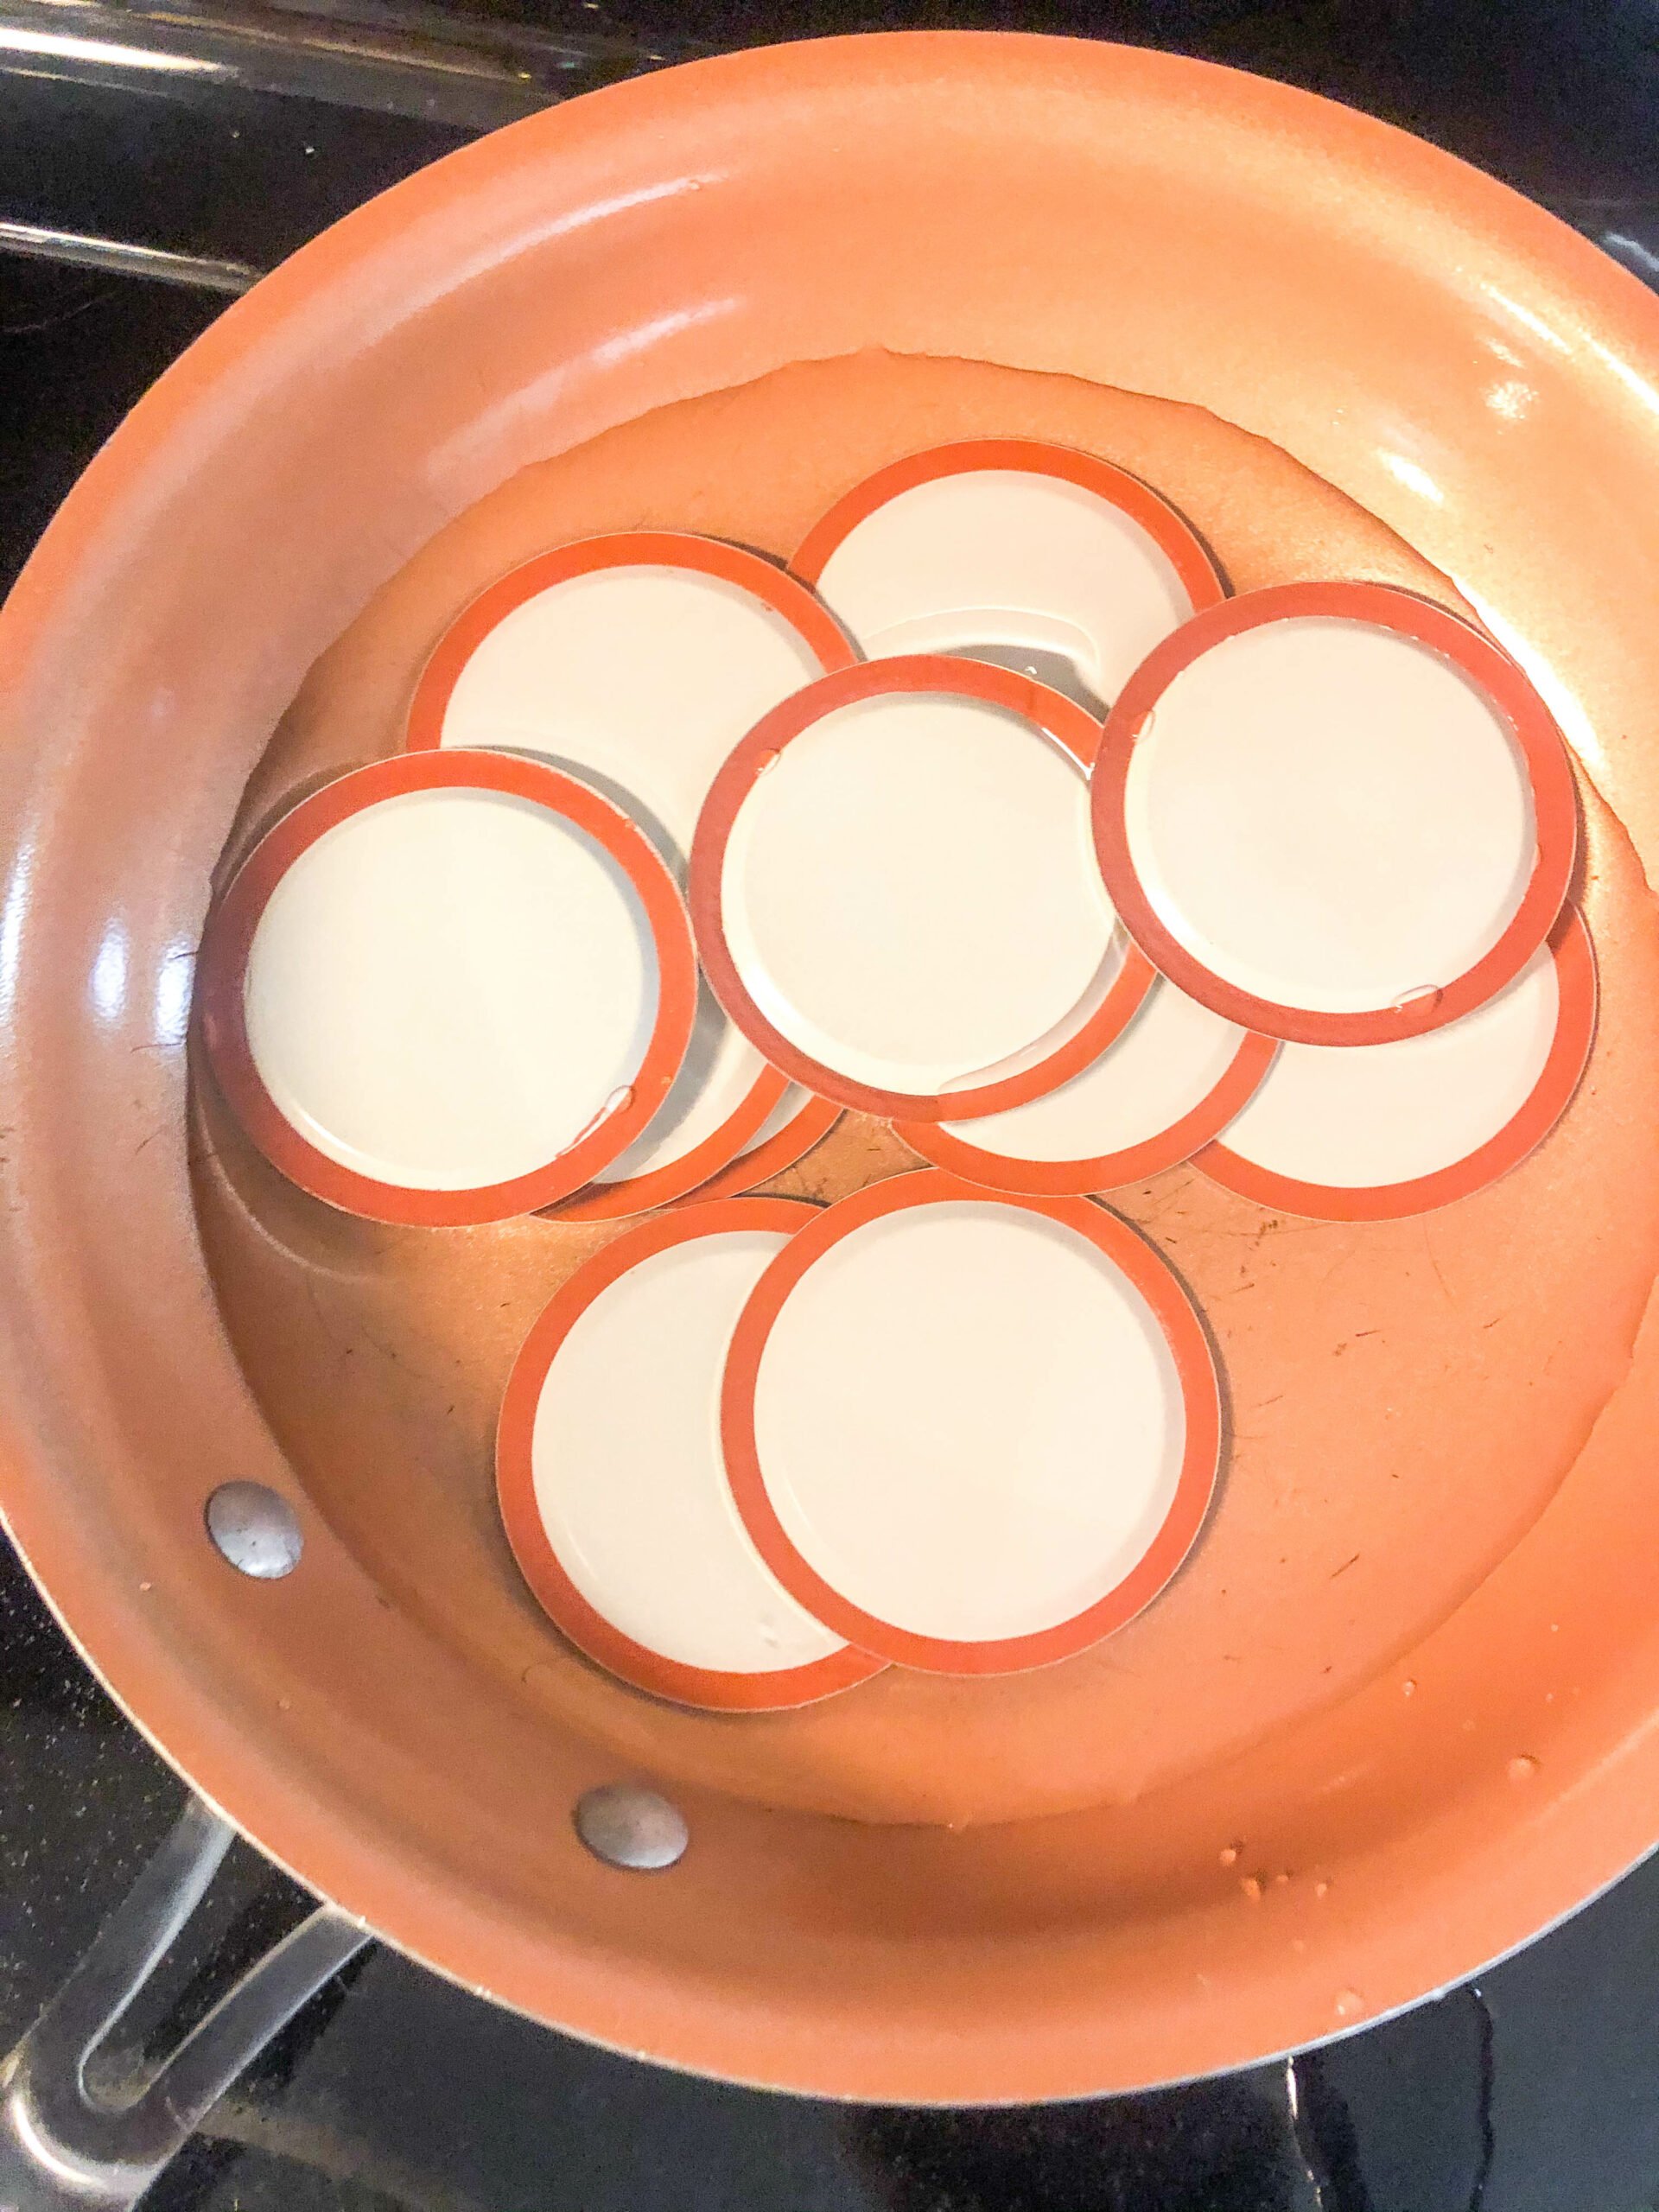
5. Adding the Brine & Sealing Each Pickle Jar
Once your brine is boiling and the lids are hot, you will add the brine, put the sealing lid and metal screw top on one jar at a time. You don’t want to do more than one at a time because you don’t want to let the brine or the sealing lid cool too much before you close each jar.
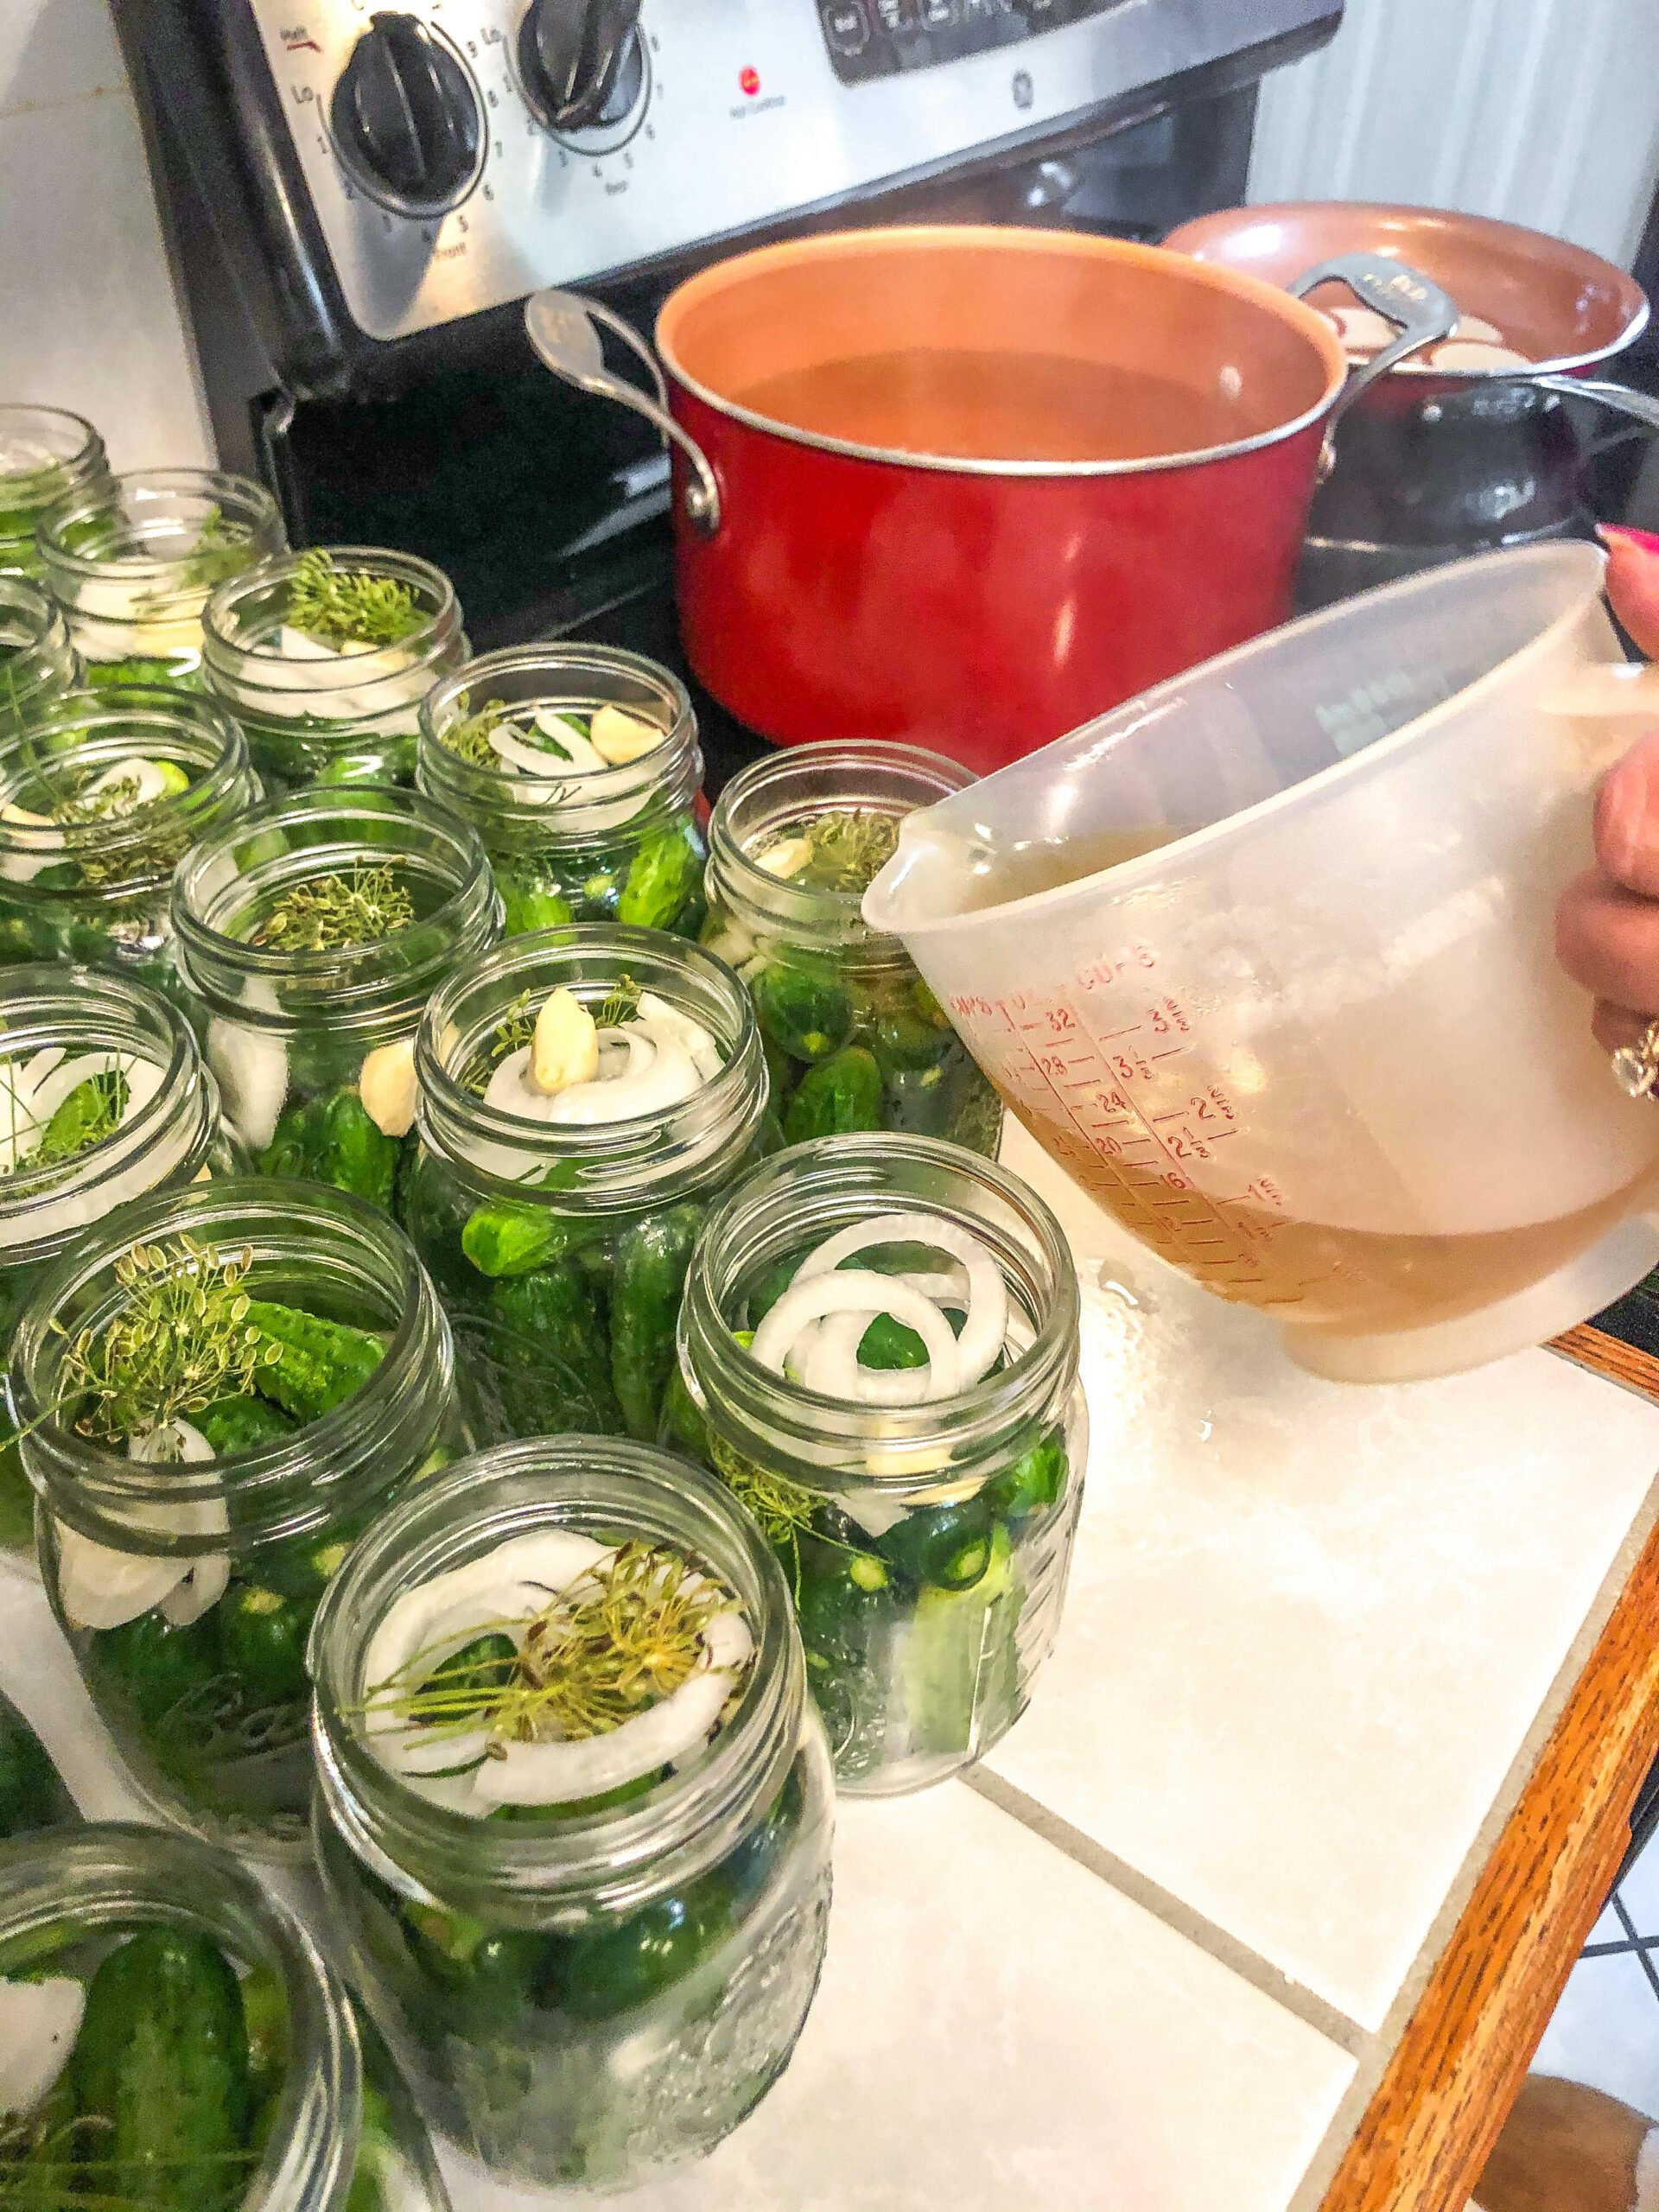
You’ll use a large measuring cup, or something with a spout to pour, to transfer the brine into the jar. The brine should cover all of the ingredients in the jar, but not be overflowing-full. Then use a fork or tongs to remove a sealing lid from the water in the fry pan. Wet your finger with the brine in the jar or a separate bowl of water and run it along the rim of the jar. Place the sealing ring on, then the metal screw cap and tighten it as much as you can.
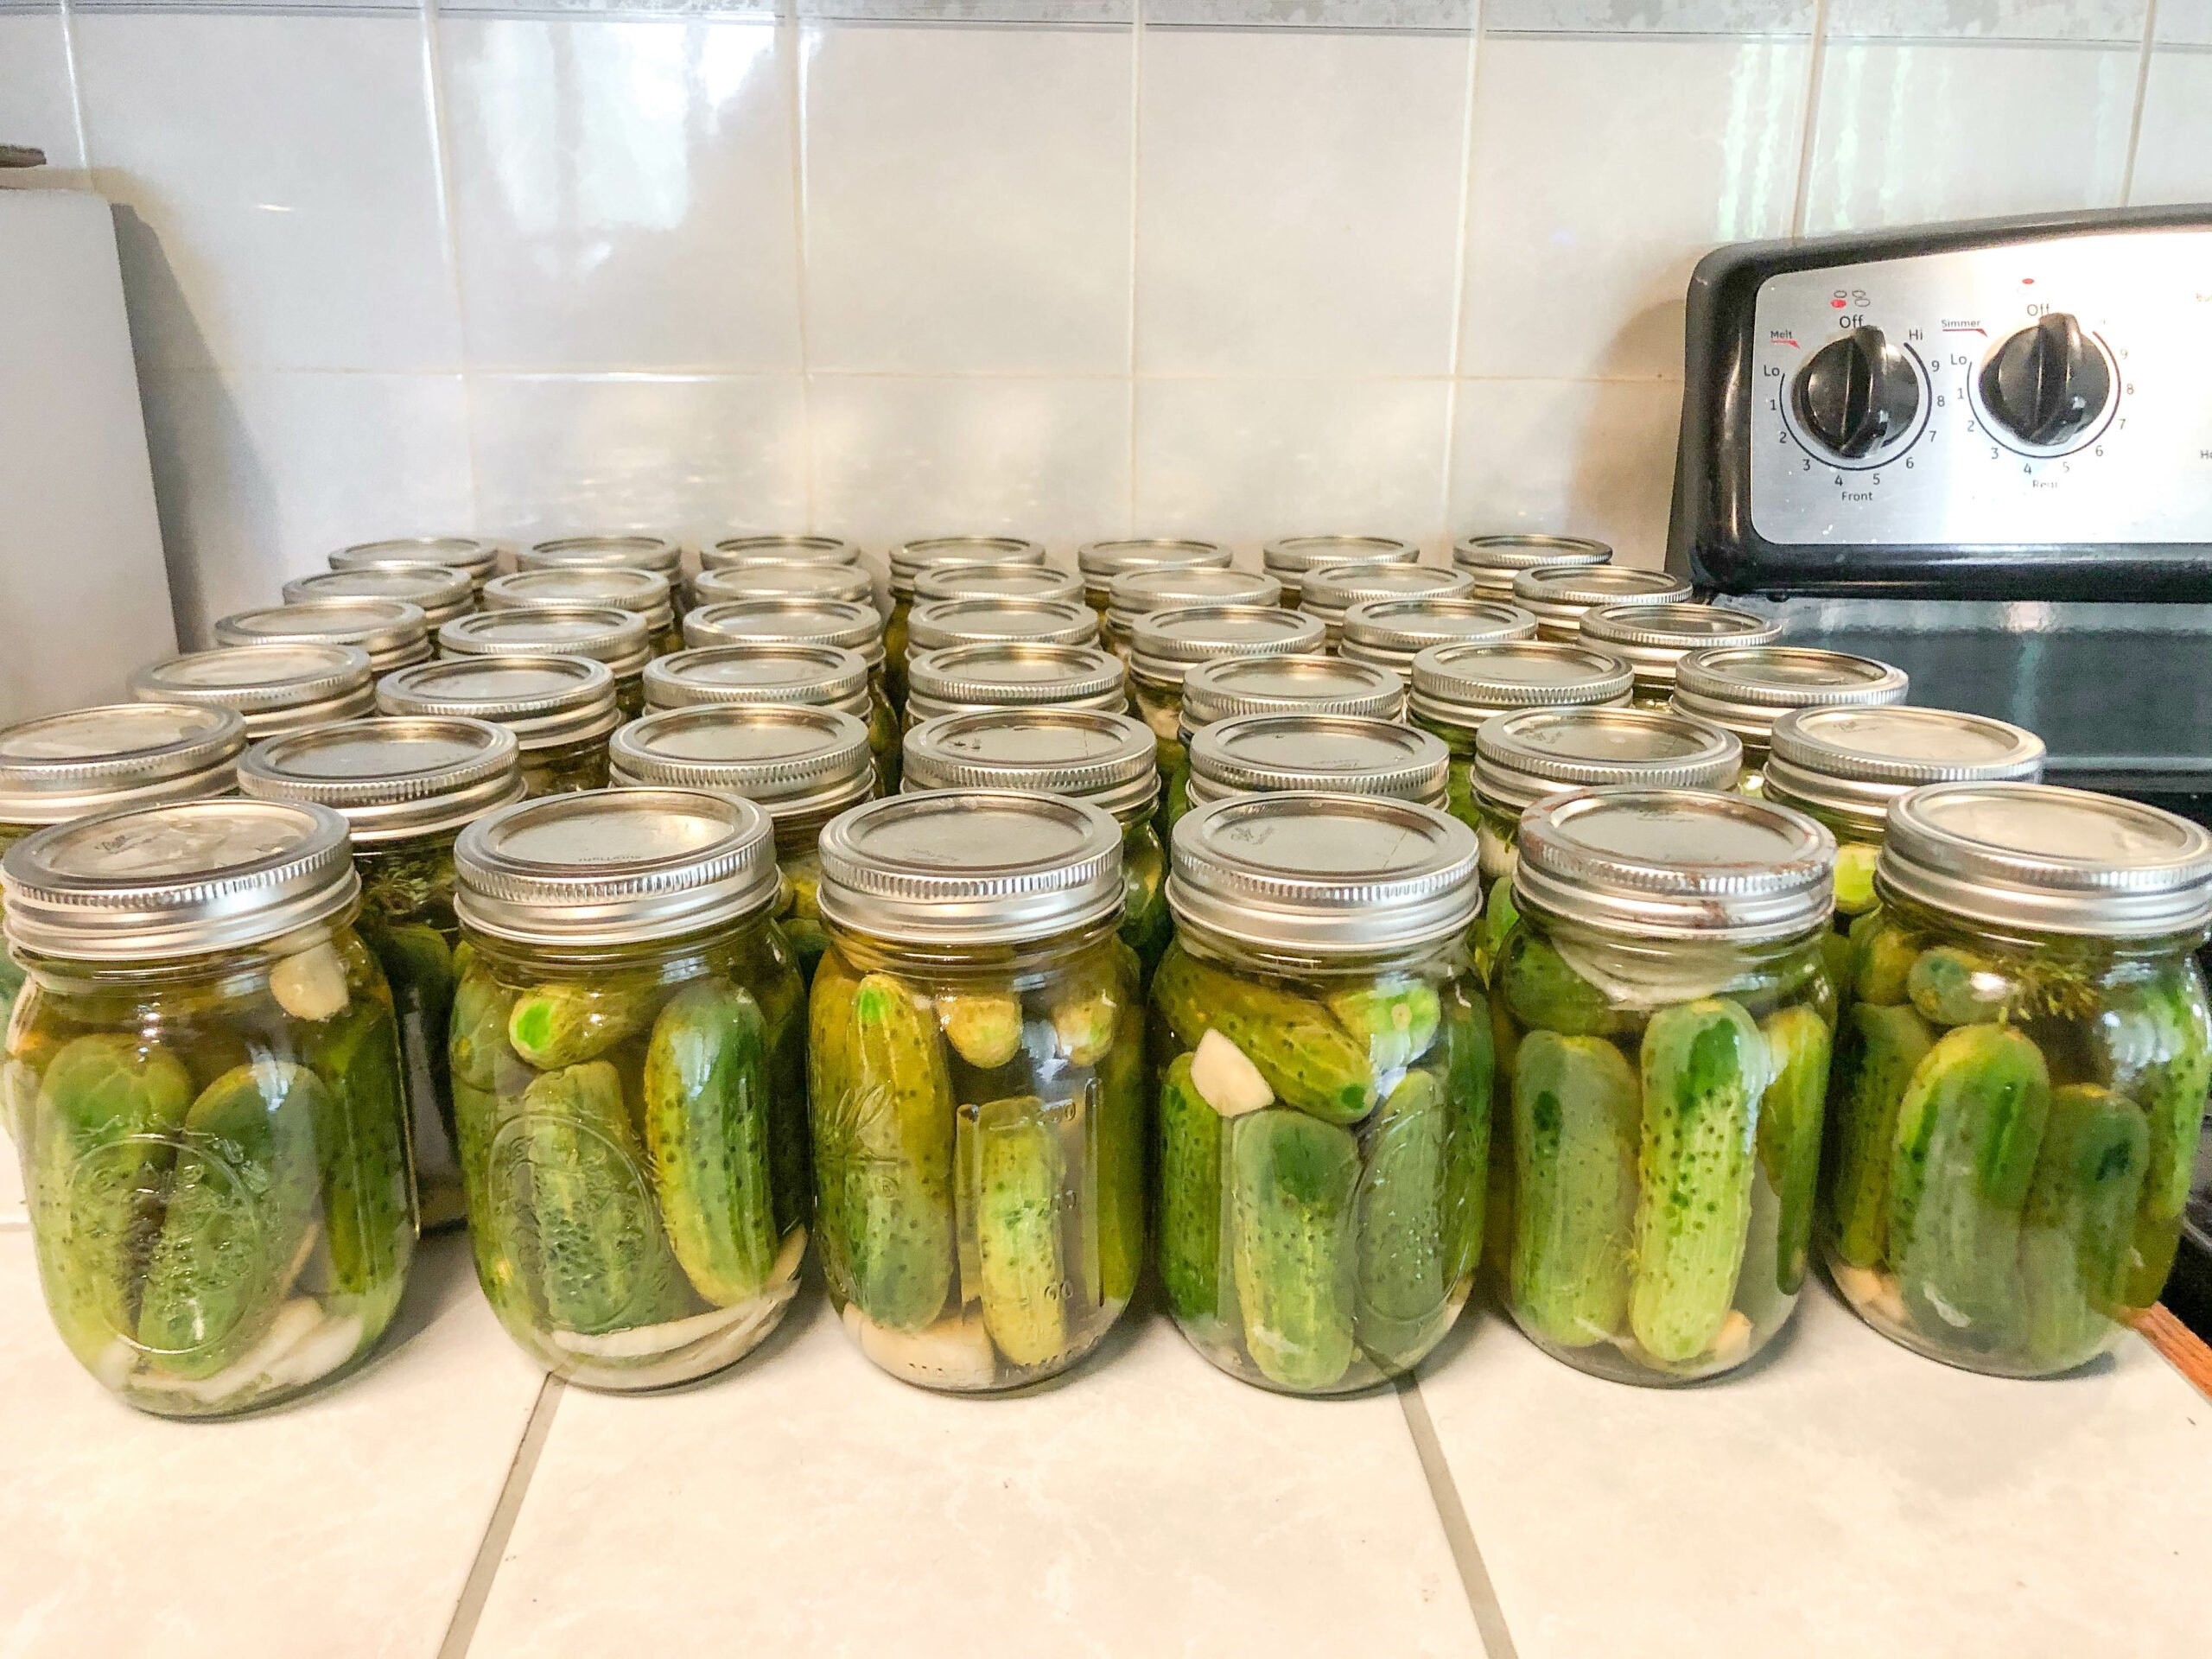
Set that jar aside and repeat the process until all of the jars have been filled. You will have to refill stockpot with the brine ingredients and bring to a boil 6 times. If you use a really large stockpot, you could add 2 quarts of vinegar at a time and only need to refill 3 times.
Once you have the metal ring screwed on, do not move the jar around too much. Within one hour, through overnight, you will start hearing the “pop” of the sealing lid, which means that the jar has completely sealed. The following day you will need to run your finger over every jar. If it does not have a bump in the middle of the lid that you can feel, it has sealed.
If there are any jars that do have a bump in the center of the lid, you will need to reseal that jar. To do this, simply open the jar, dump the brine back into the stock pot from all of the jars that didn’t seal and bring to a boil. You’ll need to use new sealing lids and repeat the process of warming them back up in a shallow fry pan.
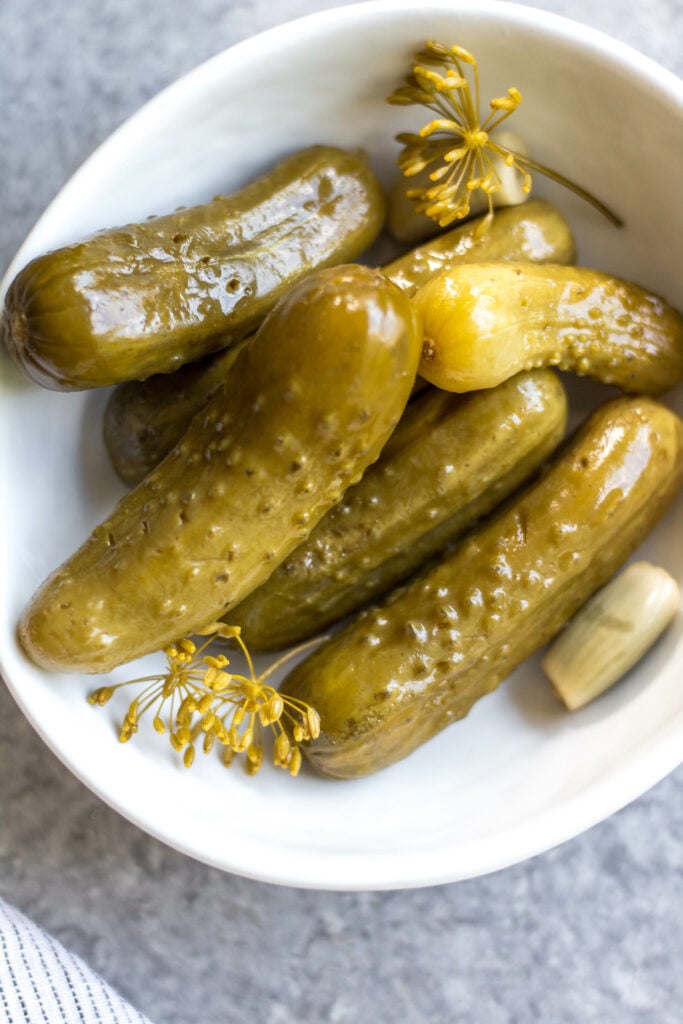
Use the same process as before to transfer the boiling brine into the jar, wetting the rim of the glass jar, placing the hot sealing lid and metal screw ring on each jar. Let them sit again overnight and they should all have sealed.
Storing & When to Eat
Once you’ve ensured that every jar has properly sealed, move the pickle jars into a cool location where they will be able to sit for a prolonged period of time. A pantry, basement, storage or laundry room are typically your best bet. They will need to sit undisturbed for 6 weeks to “pickle” before the jars can be opened.
Doubling or Halving This Recipe
This recipe for a half bushel of baby cucumbers will give you 40 jars of pickles. One quarter bushel would yield 20 jars. For that, you’d simply half this recipe- using 3 quarts of vinegar instead of 6, 1.5 cups of salt instead of 3, so on and so forth. Likewise, if you’d like to double this recipe and use a full bushel of cucumbers to yield 80 jars, you’d need 12 quarts of vinegar and 6 cups of salt. And of course the corresponding number of jars and lids to match.
These pickles make an appearance at every holiday, family gathering or BBQ, and were even going to be the wedding favors for guests at our wedding because everyone in the family is always grabbing jars of pickles from my Nana’s and Great Aunt. If you’ve never canned pickles before, I would suggest just starting off at the 40 jars the first year and seeing how many your family goes through first.
Recipes to Use Your Pickles In:
Homemade Burger “Special Sauce”
PrintHomemade Dill Pickles: Great Grandma’s Canning Recipe
This recipe for canned pickles has been in my family for over 100 years. It’s easy, even for a canning beginner, only requires 7 ingredients, including garlic, dill and onions to give them their classic flavor. The mini cucumbers can be crinkle cut into slices, cut into spears, or left whole. This homemade dill pickle recipe yields 40 jars, so you can enjoy them all year, share with family and give as gifts!
- Yield: 40 pints 1x
- Category: Vegetables
- Method: Canning
- Cuisine: American
- Diet: Gluten Free
Ingredients
- 1/2 bushel of baby cucumbers (often called pickling cucumbers)
- 6 quarts apple cider vinegar
- 6 quarts water
- 3 cups Morton’s salt
- 4.5 cups white sugar
- 3 white onions, sliced
- 6 heads garlic, peeled and chopped (each clove chopped into halves)
- 2 large bunches dill weed, stems cut short so it’s mostly just the tops with about 1/2 inch of stem
Instructions
- Prepare for the canning process by sterilizing the jars and washing the baby cucumbers
- Bring 1 quart vinegar, 1 quart water, 1/2 cup salt and 3/4 cup sugar to a boil in a large stock pot
- In a fry pan, add about 1-2 cups of water and 8-10 canning lids (separated out around in the pan) over medium-high heat to ready the sealing ring
- While the brine is coming to a boil, begin filling the jars by placing 1 slice onion, 1/2 clove garlic and 3-4 stems of dill weed on the bottom of each jar
- Pack the baby cucumbers into the jar upright so they are tight and no more cucumbers can fit, then put two smaller ones horizontally on the top if they’ll fit
- Top again with 1 slice onion, 1/2 clove garlic and 3-4 stems of dill weed. Place the packed jar near to where the brine is coming to a boil
- Continue packing the jars until the brine has been at a rolling boil for 5 minutes and lids in the fry pan are hot
- Once boiling, fill a large 4 cup measuring cup with a pour spout with the brine. Fill a jar with the brine so that the liquid is covering the onion, dill and garlic on top. Remove a lid from the fry pan, wet your finger (with the brine in the jar or a separate nearby bowl of water) and trace around the rim of the glass canning jar. Place the lid on, and then screw on the metal ring as tight as you can
- Set the jar aside and repeat
- When your first brine is gone, repeat boiling process by adding another 1 quart vinegar, 1 quart water, 1/2 cup salt and 3/4 cup sugar to your stock pot. You will do this 6 times for 40 jars
- Once finished, let the cans sit where they are without moving them or messing with them
- Within an hour and through overnight, you will hear them start to “pop”, which means they have sealed completely
- The following day, you may need to reseal some if a few of them didn’t seal. To do this, run your finger over the top of each jar, and if there is no bump it has sealed
- If there is a bump, you will need open the jars that didn’t seal and pour the brine from the unsealed jars back into a stock pot to bring to a rolling boil for 5 minutes. You will need to use new sealing lids and heat those in the fry pan (repeating the process of the day before). Once they’re hot and the brine is boiling, pour the liquid back into the jars, wet the rim of the jar and place a new lid onto the top. Place the metal ring on and tighten as much as you can. Set them aside and wait for them to “pop” to ensure they have sealed
- Once all of your jars are sealed, move them to a cool location like a pantry or storage room and let them sit for 6 weeks before opening and eating
- Enjoy throughout the year!
Notes
Supplies needed:
Whichever way you sterilize your jars, you want to do this relatively close to the time you fill them to avoid the glass breaking, which can happen sometimes when a glass container is cold and you pour boiling liquid into it. If you want to sterilize the day or night prior to doing the actual canning, before you start canning, simply fill your (clean) sink with hot water, place jars into it and let them sit for at least 10 minute before you start filling the jars with cucumbers. When you’re filling the jars, just take each one from the hot water bath. Once the sink is empty and you’ve filled those jars with cucumbers, just place the next batch into the sink to warm.
This Homemade Canned Dill Pickles post may contain some links that are affiliate links, though products are ones I use personally and recommend. When you purchase anything using my links, it costs you absolutely nothing extra, but it does give wholekitchensink.com a little financial support which helps to keep this blog running. Thank you for your continued support, both with your dollars and your interest.





Lillian says
These came out fantastic. Really appreciate the in depth explanation too. Thank you!
Emma Lee says
4.5 cups of sugar seems like a lot. Are these pickles more sweet than sour? Thanks!
paleobailey says
No, they’re pretty sour/vinegary. The recipe is for 40 pints, so there’s really only 1.5 tbsp sugar per pint!
paleobailey says
Oh I should also add that the sugar basically ferments out / is needed during the pickling process 🙂